Thursday, December 07, 2006


Wednesday, December 06, 2006
Tuesday, December 05, 2006
Monday, December 04, 2006

Sunday, December 03, 2006
Saturday, December 02, 2006

Friday, December 01, 2006
MNO Challenge Top
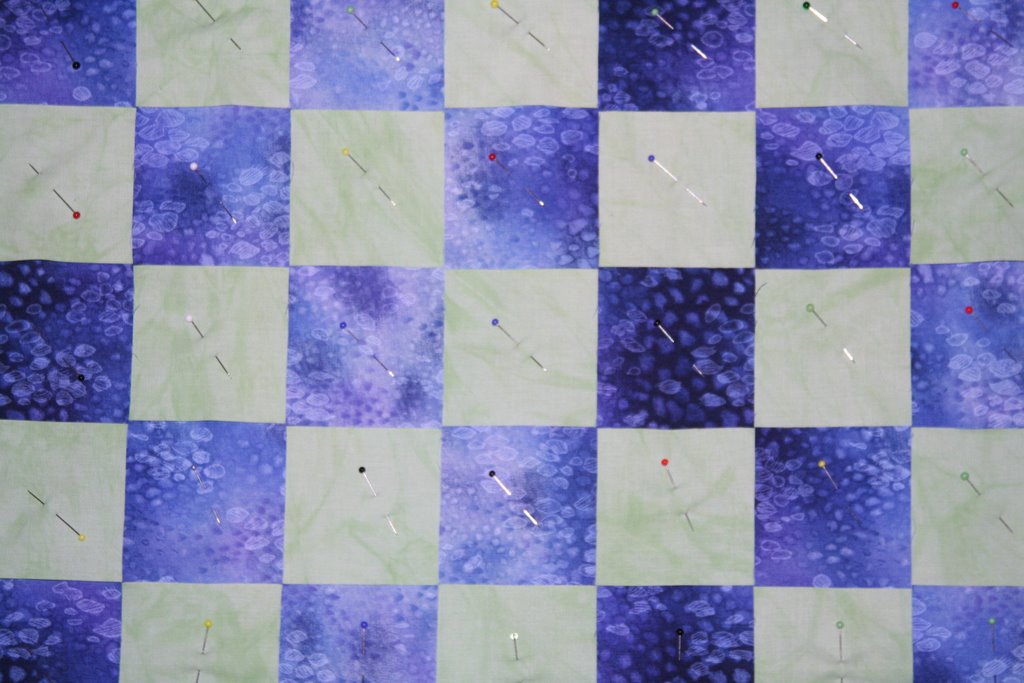
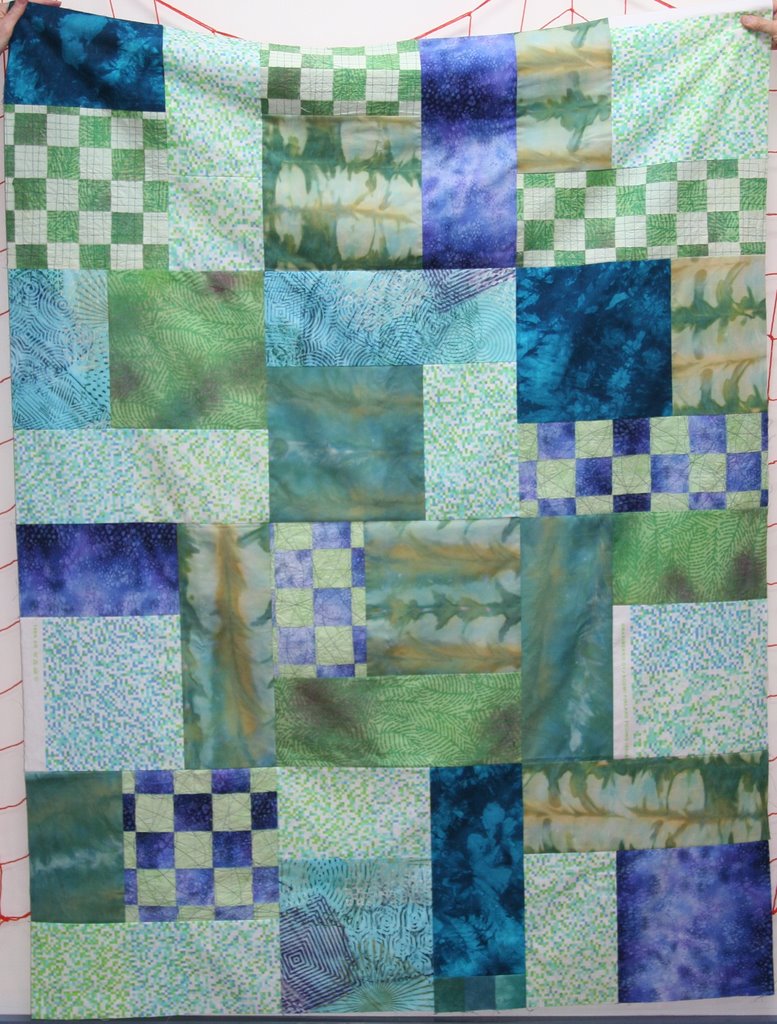 Here is my Mosman Night Owls Challenge quilt. The challenge fabric, an off-cut of a Marimekko fabric, is the tiny blue, green and white check. I've used two woven FQs, the FQ I used the Shivas Paintstiks on, a bunch of hand-dyeds and two commercial fabrics.
There are three pieces of fabric in each block so the piecing is dead simple and the character of each fabric isn't lost in the piecing.
The blocks looked different lying on the lounge room floor than they do assembled into a quilt top. I'm not sure I like how they went together and am thinking about taking it apart and putting it back together again. Would help fill the time created by my inevitable procrastination about how to quilt and embellish it.
Thursday, November 30, 2006
MNO Challenge -- Woven Fabric Update
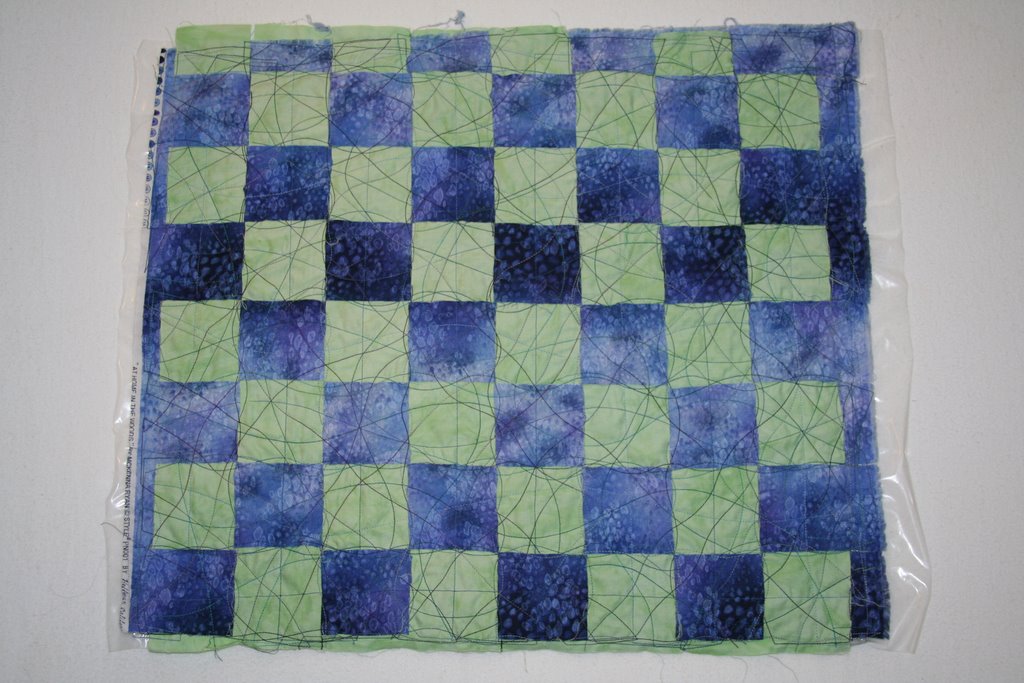 My second attempt at weaving two fat quarters went a bit better using a heavy duty water soluble stabiliser. It was a bit sticky on the bed of the sewing machine when I first started sewing through the layers, but that didn't last long. No gunk on the needle althrough there was a bit of fluff around the bobbin case. I'll have to remember to clean it out after using this water soluble stuff.
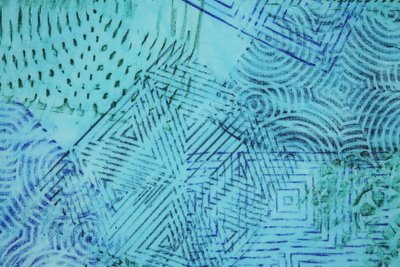
Here's a close-up of the front ...
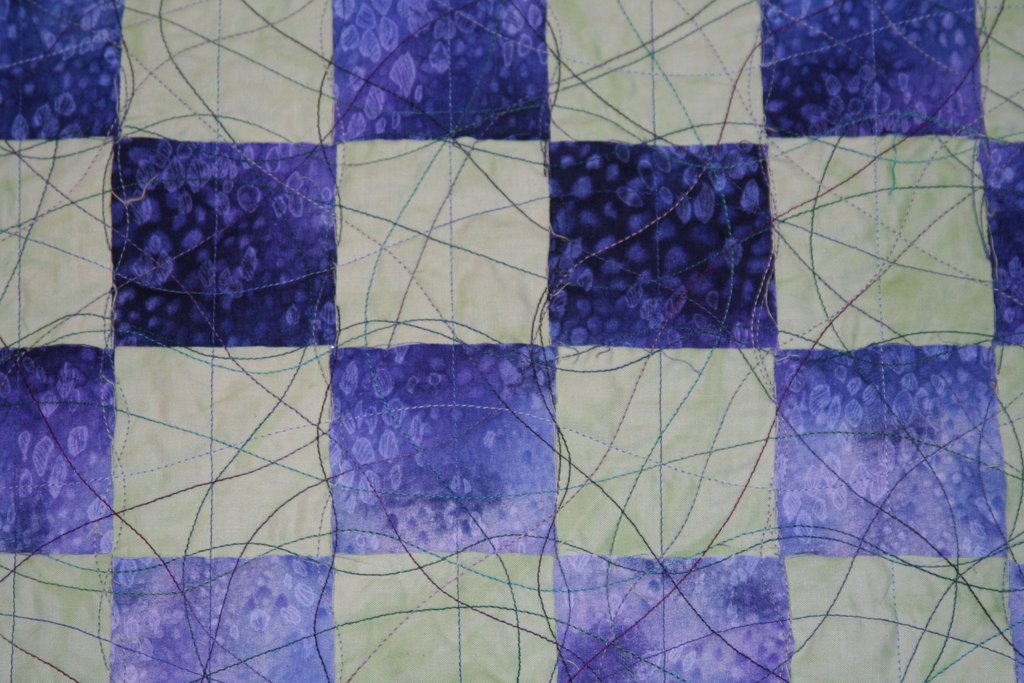 And a close up of the back ...
 When I dunked it into cold water it got slimy for a minute and then dissolved away cleanly. I squeezed it out in a towel to get rid of the extra water and hung it up to dry. After ironing, it was a bit scrunched up around some of the stitching but that added some nice texture to the finished fabric.
 One lesson for next time: be sure to weave strips so that there aren't any gaps in the corners between the strips. I've got a couple but don't know if the wadding will migrate through or not.
If it does, I can always write a book with my new embellishment technique and going on the international lecture circuit.
Wednesday, November 29, 2006
MNO Challenge -- Shivas Paintstiks Update
 I got some more colours and finished up my fat quarter. It helps now that I understand more about how to use the rubbing plates more effectively. The metalic white really adds sparkle to the patterns.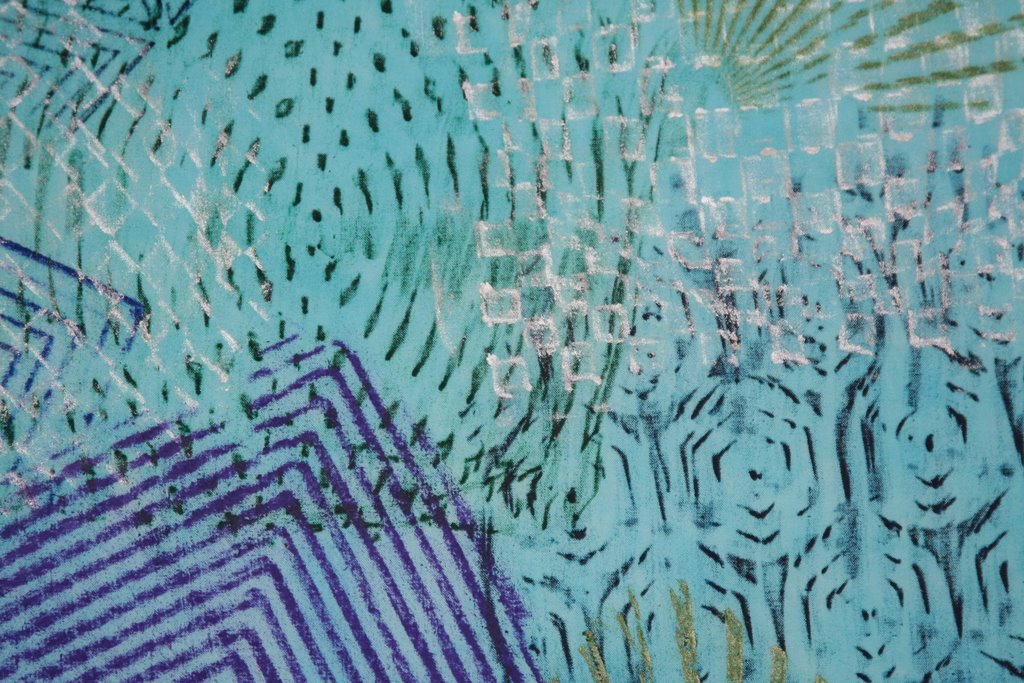
Tuesday, November 28, 2006
Horizontal
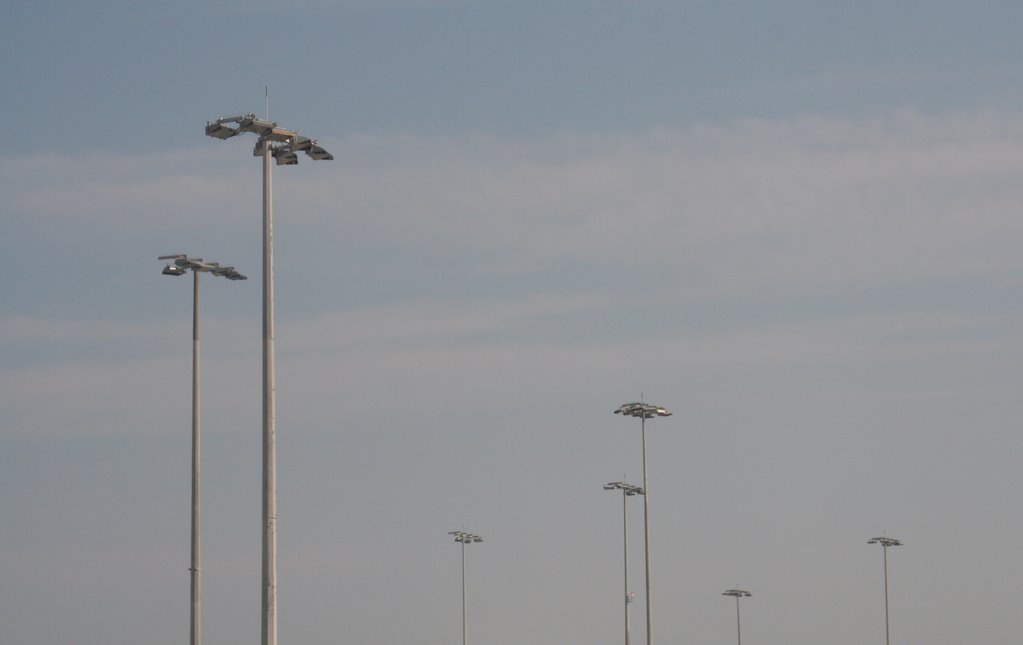
 As we flew into Kingsford-Smith and banked for our final approach over Botany Bay, the smoke from the Blue Mountains bush fires was blowing out into the Tasman.
Monday, November 27, 2006
Sunday, November 26, 2006
Through Smoke Haze
 While I was in Brisbane for the Ashes, the bush fires in the Blue Mountains continued to burn with more fires in the Hunter and Hawkesbury. It looked pretty smokey as we flew over the Harbour.
You can see the Harbour Bridge in the middle and, a bit down and to the left, the Sydney Opera House through the smoke haze. Once we had landed, the sky didn't look so hazy.
Saturday, November 25, 2006

Thursday, November 23, 2006

Wednesday, November 22, 2006
Pinku Maniac
This quilt was made for HRH for her 6th birthday. She chose the fabrics while on a fabric shopping marathon with her grandmother and Aunt Jan. HRH also chose the name based on her belief that the Japanese word for pink is 'pinku'.

 Looking back at this quilt, it was the last one I had machine quilted before I decided that I could learn to machine quilt myself.

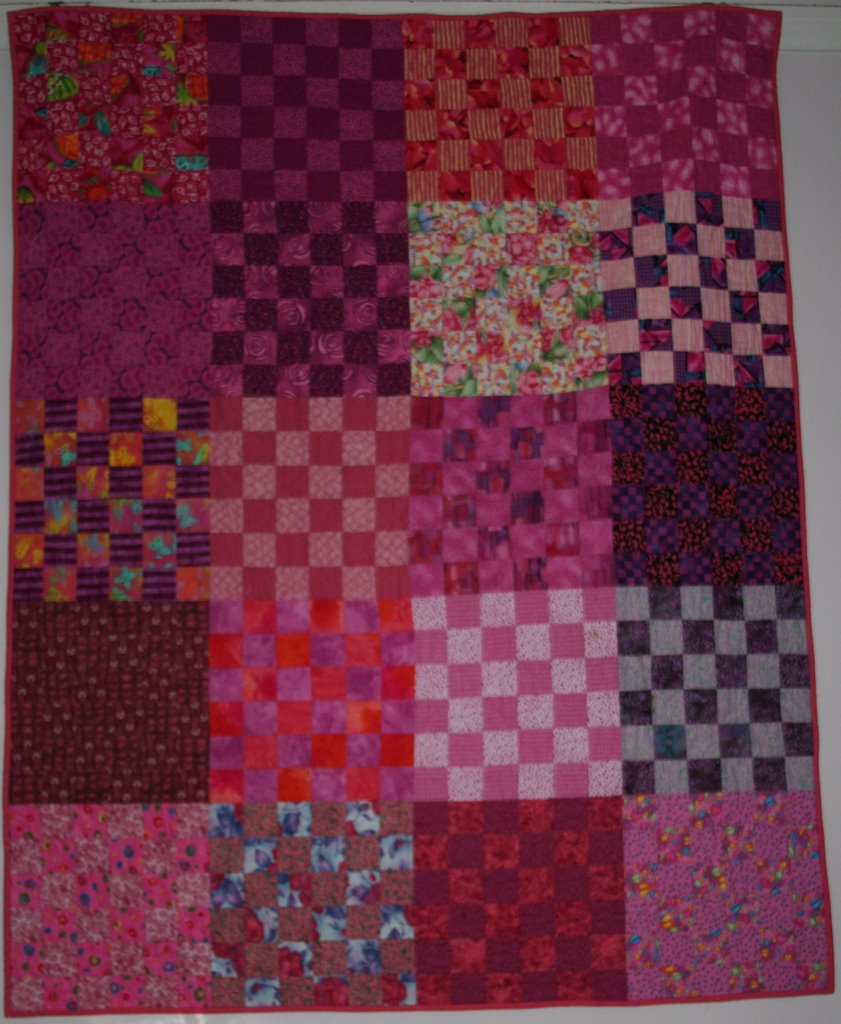
 Looking back at this quilt, it was the last one I had machine quilted before I decided that I could learn to machine quilt myself.
Tuesday, November 21, 2006
Monday, November 20, 2006


Sunday, November 19, 2006
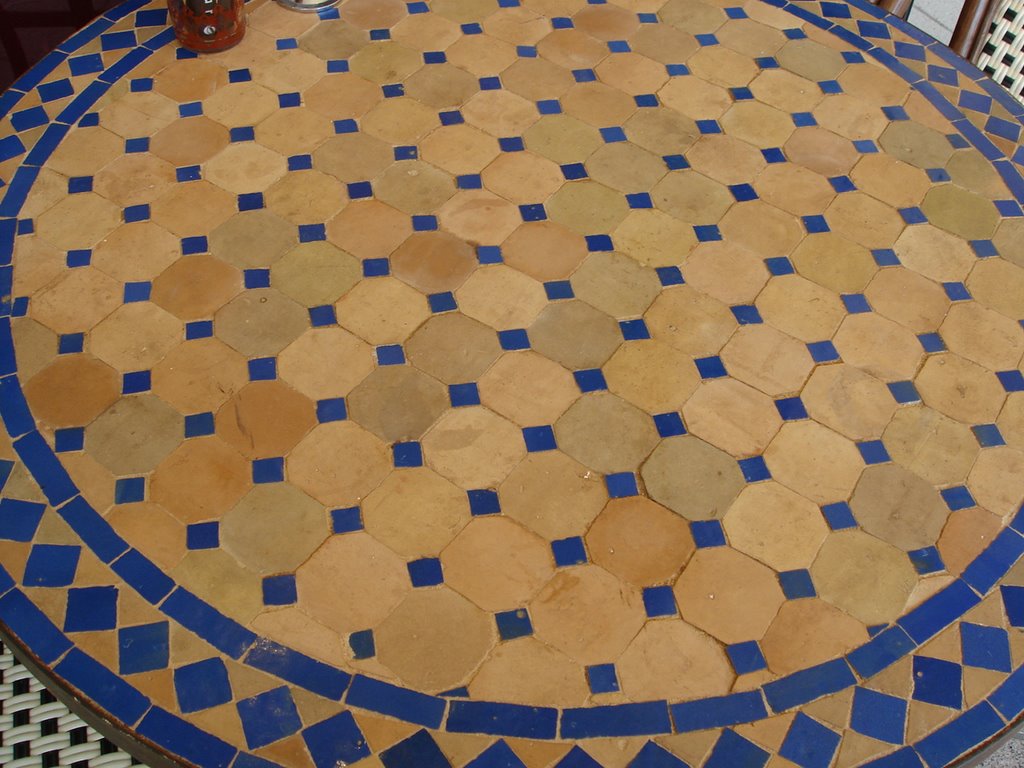
Tiled Tables
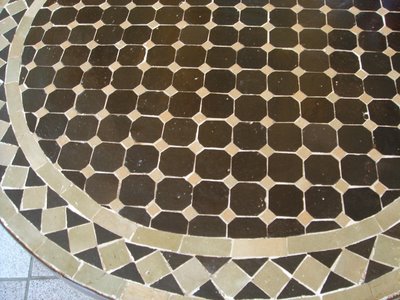
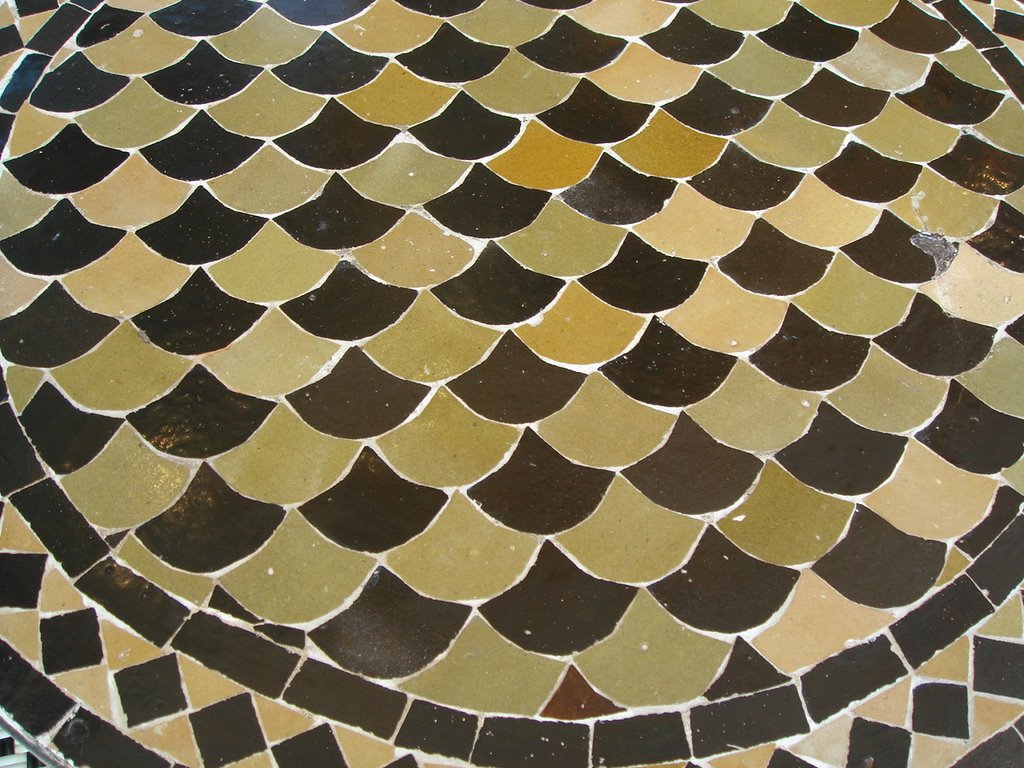
In a moment of parental weakness, I agreed to take HRH to the mall to find a dress for the Year 6 Farewell at her school. While wandering through the cultural wasteland to her favourite shop, we came across these tables at a coffee shop that was part of an Asian imports shop. Tres kool!



Monday, November 13, 2006

Sunday, November 12, 2006
Time for Everything?
On one of the lists I belong to, someone was worried because she wasn't getting enough studio time. Between working and studying and the rest of life, she was a bit overwhelmed. She felt as if everyone else could do everything and was frustrated because she couldn't. And she felt that her work was suffering because she didn't think that she could get lots done in small increments of time.
I have some small experience with a excessive demands on my time and have found a couple of different ways to cope. And I thought I'd share them.
I have some small experience with a excessive demands on my time and have found a couple of different ways to cope. And I thought I'd share them.
- Learn to say 'no'. Sometimes you can do this nicely. Sometimes not. But you have to do it. And mean it. And stick to it.
- Allow yourself not to be perfect. Be reasonable and let yourself off the hook sometimes. Your 'pretty good' is usually better than someone else's 'excellent'.
- Don't worry about 'developing a body of work'. Just do the work. Work smaller. Work faster. Work intuitively. Work randomly. Just work.
- Focus on extended studio time later. Right now, just focus on studio time. 10 minutes here and 10 minutes there can add up to serious studio time.
- What some of us see as regular life, others may see as 'doing it all'. Change the way that you think about something and you will feel differently about it. Positive thoughts result in positive feelings.
Saturday, November 11, 2006
MNO Challenge -- Woven Fabric
The next challenge to add oooomph to my fabric choices: weaving two other fat quarters together and sewing the layers together. The book On the Surface by Wendy Hill makes it sound so easy. I've read the directions. There are even pictures. What could go wrong?
I took one of my hand-dyed fat quarters and a commercial fabric fat quarter and, faithfully following the directions, wove them together. I wasn't too sure how wide to cut the strips so decided on 2 1/2".
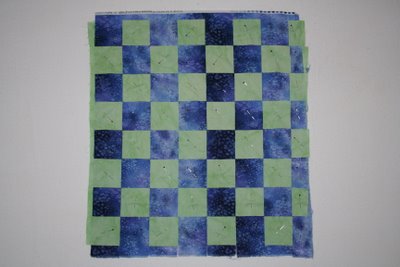 These strips, even though they are pretty wide, are slippery suckers and just won't stay put. And that made the weaving a bit of a challenge. But I got there in the end. So, before I started pinning, I did what every good engineer does ... thought it through before jumping into the breach.
The most stable part of each fat quarter is the edge that I didn't cut through when I cut the strips. The hand-dyed fabric had 4 cut edges so it didn't matter which side I kept intact. But the commercial fabric FQ still had a selvedge, so I left that one intact.
When I wove them together, I formed a corner where the two un-cut edges came together. That would be the most stable part of the piece and the best place to start pinning. I was working on a table with a smooth surface and every time I put a pin into the woven layers, the strips moved. Even pinning them, starting from the corner formed by the two un-cut edges, didn't help. And every time I moved the piece, things between the pins shifted.
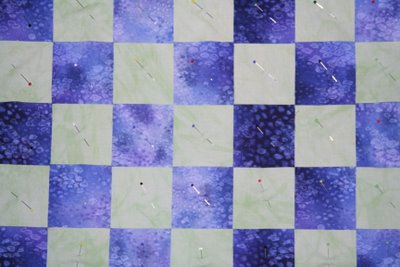 Now I understand why, in her book, Wendy recommends using water-soluable stabiliser as a foundation. So, the next step is to follow the directions and repin the piece onto waster-soluable stabiliser, which I just happen to have here somewhere ...
I took one of my hand-dyed fat quarters and a commercial fabric fat quarter and, faithfully following the directions, wove them together. I wasn't too sure how wide to cut the strips so decided on 2 1/2".
 These strips, even though they are pretty wide, are slippery suckers and just won't stay put. And that made the weaving a bit of a challenge. But I got there in the end. So, before I started pinning, I did what every good engineer does ... thought it through before jumping into the breach.
 The most stable part of each fat quarter is the edge that I didn't cut through when I cut the strips. The hand-dyed fabric had 4 cut edges so it didn't matter which side I kept intact. But the commercial fabric FQ still had a selvedge, so I left that one intact.
When I wove them together, I formed a corner where the two un-cut edges came together. That would be the most stable part of the piece and the best place to start pinning. I was working on a table with a smooth surface and every time I put a pin into the woven layers, the strips moved. Even pinning them, starting from the corner formed by the two un-cut edges, didn't help. And every time I moved the piece, things between the pins shifted.
 Now I understand why, in her book, Wendy recommends using water-soluable stabiliser as a foundation. So, the next step is to follow the directions and repin the piece onto waster-soluable stabiliser, which I just happen to have here somewhere ...
Friday, November 10, 2006
MNO Challenge -- Shiva Paintstiks
I got out the Shiva paintstiks and decided it was time to give them a go. I've never used them before so even read the instructions before I started. There are instructions that came with the rubbing plates, but I found Paintstiks on Fabric by Shelly Stokes to be pretty inspiring.
First challenge was to get rid of the dry outer layer and expose the oil paint stick underneath. While the various instructions will be useful next time I use them, the first time you have to shave off the dry layer. If you try to pinch it off, as the instructions said, you will end up pinching off the entire top bit of the large wax crayons.
Second challenge was with the rubbing plates. I learned through trial and error that these plates have a right side (which gives good clear images) and a wrong side (which don't).
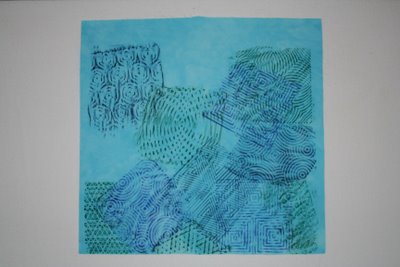 The paintstiks were dead simple to use and it was fun seeing how each rubbing plate came up on the fabric. I used plates from the Op Art set and the Triangle set here.
Now, I have to figure out what you do with a paintstik that you have rubbed down to the covering paper. Do you push the paintstik up into the tube exposing more material or do you peel back the paper like you do with a crayon? Enquiring minds want to know ...
I had two different blues and one green in my package of paintstiks. I decided to stop here because I wanted some more variety in the colours I used. I now remember why I always wanted the big box of 64 Crayola crayons (and, truth be told, still do).
So, being a resourceful internet shopper, I have ordered more colours. They will be a while because of a train derailment and a washed out bridge. So I'll finish this one off after they finish their trek from Perth. I am expecting a post card from them any day now.
First challenge was to get rid of the dry outer layer and expose the oil paint stick underneath. While the various instructions will be useful next time I use them, the first time you have to shave off the dry layer. If you try to pinch it off, as the instructions said, you will end up pinching off the entire top bit of the large wax crayons.
Second challenge was with the rubbing plates. I learned through trial and error that these plates have a right side (which gives good clear images) and a wrong side (which don't).
 The paintstiks were dead simple to use and it was fun seeing how each rubbing plate came up on the fabric. I used plates from the Op Art set and the Triangle set here.
Now, I have to figure out what you do with a paintstik that you have rubbed down to the covering paper. Do you push the paintstik up into the tube exposing more material or do you peel back the paper like you do with a crayon? Enquiring minds want to know ...
I had two different blues and one green in my package of paintstiks. I decided to stop here because I wanted some more variety in the colours I used. I now remember why I always wanted the big box of 64 Crayola crayons (and, truth be told, still do).
So, being a resourceful internet shopper, I have ordered more colours. They will be a while because of a train derailment and a washed out bridge. So I'll finish this one off after they finish their trek from Perth. I am expecting a post card from them any day now.

Thursday, November 09, 2006
Mosman Night Owls Challenge 2006
Early in 2006, I brought a parcel of Marimekko offcuts to our monthly Mosman Night Owls meeting. Each member of Mosman Night Owls chose one fabric and agreed to make something from that fabric for the November meeting, our last one of the year. The rules we agreed to were pretty simple:
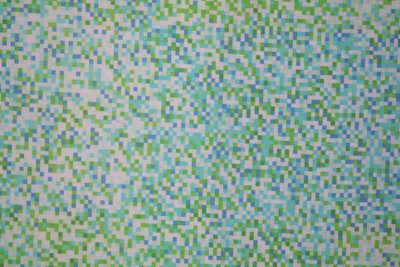 ... and closer up ...
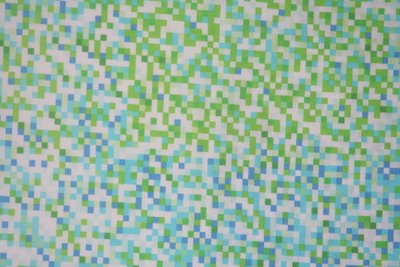 So, I got stuck into my stash and I found some hand-dyed fabrics and bought a few more. While they were the right colours, they didn't have much ooooomph. It is time to get creative.
- You could make anything that you wanted to make.
- You had to use some of the fabric in the finished piece and it had to be recognisable.
- You could alter the selected fabric in any way you wanted or use it as is.
- You could add as many other fabrics as you wanted.
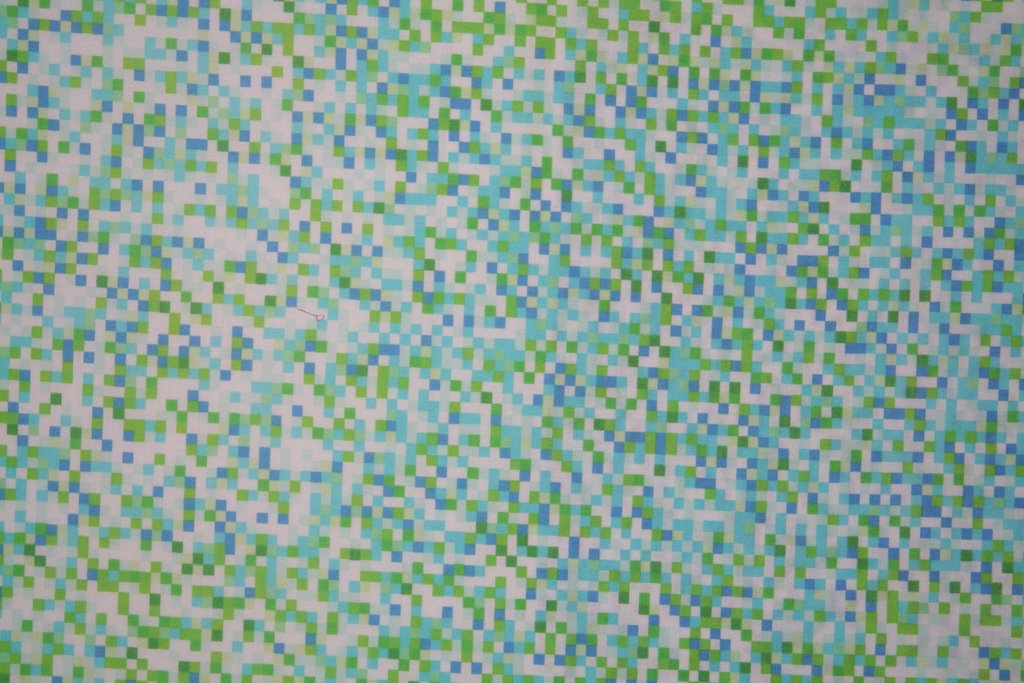 ... and closer up ...
 So, I got stuck into my stash and I found some hand-dyed fabrics and bought a few more. While they were the right colours, they didn't have much ooooomph. It is time to get creative.
Monday, October 23, 2006
Rusting Fabric
A previous blog showed my first attempt at using rust on fabric. While looking through my stuff for something else, I found the results of my rust attempt.
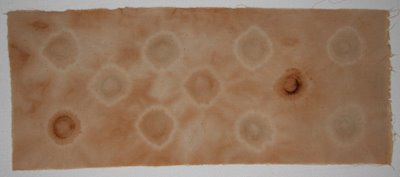
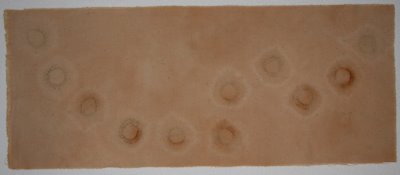 You can't tell from the photos, but because I put so much tension on the fabric in take advantage of the serated edges of the beer bottle caps, I managed to cut through the fabric in almost every rust circle. Note to self for next time.
And I started out with unbleached muslin so what rusting results I did get in the circles and the background areas were lost a bit. White fabric would have shown up the rust more. Another note to self.
Just for comparison, here are the results that Cynthia St Charles gets.

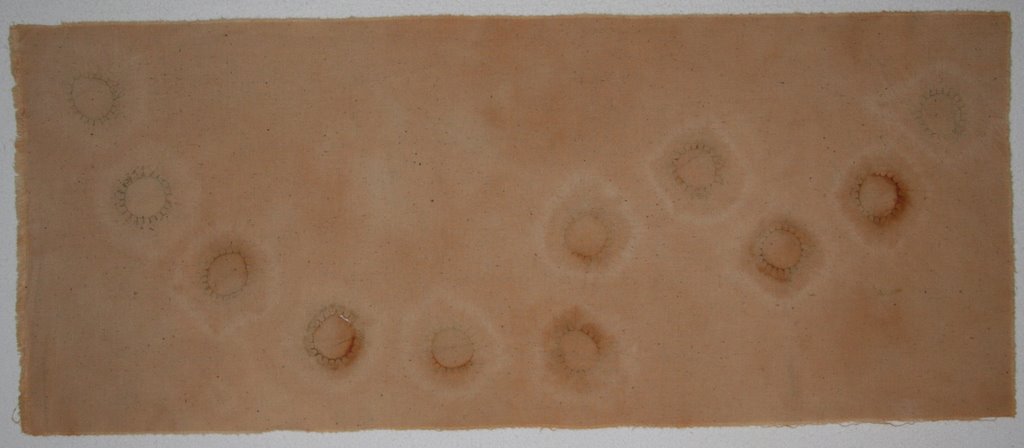 You can't tell from the photos, but because I put so much tension on the fabric in take advantage of the serated edges of the beer bottle caps, I managed to cut through the fabric in almost every rust circle. Note to self for next time.
And I started out with unbleached muslin so what rusting results I did get in the circles and the background areas were lost a bit. White fabric would have shown up the rust more. Another note to self.
Just for comparison, here are the results that Cynthia St Charles gets.
Sunday, October 22, 2006
Imagine!
Yesterday was the fete at HRH's school and the weather was memorable -- cold, windy, cloudy with just enough rain to keep that chill going. By the time the Senior Band played I was well and truly ready to go home and warm up.
The quilt I donated to the silent auction actually went over the $500 reserve and I had to pay more so I could take it home with me. I wanted to be strong but, in the end, I decided that I just couldn't part with it. Besides, I was pretty chuffed that someone was willing to bid that much for it.
That sort of made up for the $200 parking ticket I got for parking out in front of the school. Seems that everyone who parked along MacPherson Street got booked. Always nice when the local council helps to support the community.
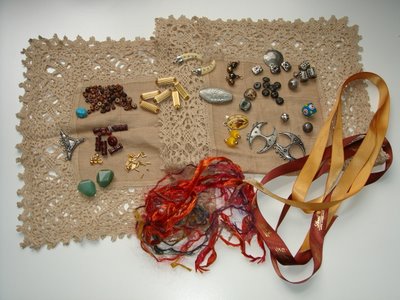
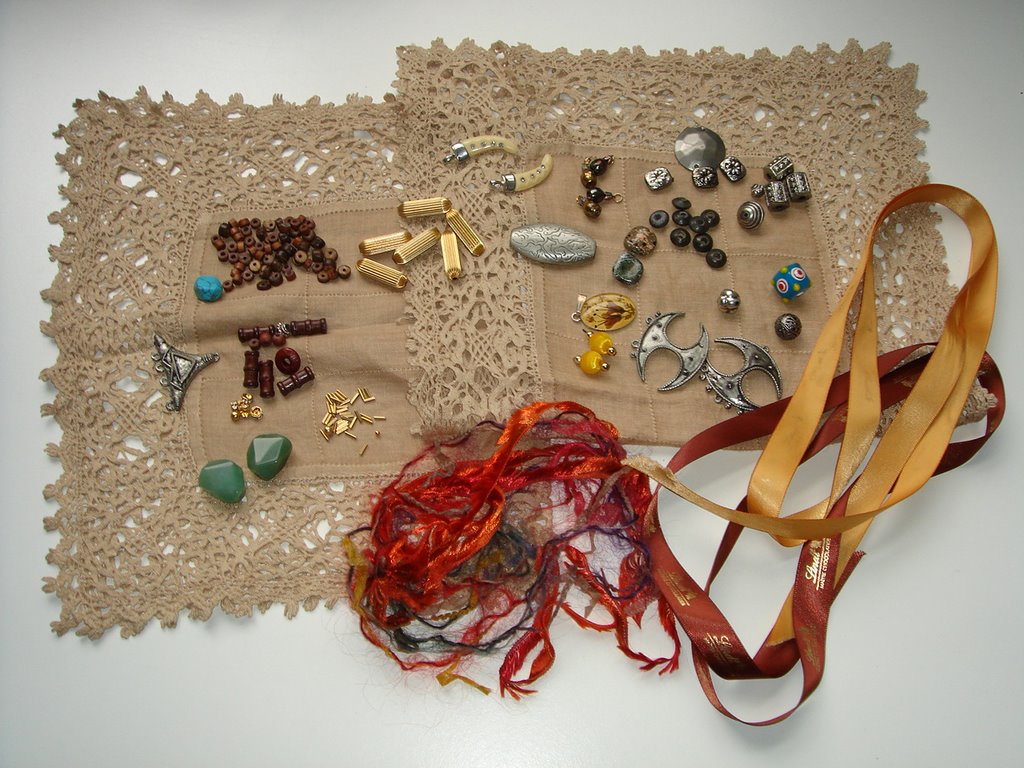
I managed to hold off at the White Elephant sale and got some lace bits and some junk jewelery for next to nothing. I've taken them apart already and the bead and baubles and bits will be very nice embellishments to go with the quilt I'm going to make from my birthday fat quarters, a rather distinctive colour theme (well, for me anyway).
 All in all, a pretty expensive day, although most of it was for a good cause.
The quilt I donated to the silent auction actually went over the $500 reserve and I had to pay more so I could take it home with me. I wanted to be strong but, in the end, I decided that I just couldn't part with it. Besides, I was pretty chuffed that someone was willing to bid that much for it.
That sort of made up for the $200 parking ticket I got for parking out in front of the school. Seems that everyone who parked along MacPherson Street got booked. Always nice when the local council helps to support the community.
I managed to hold off at the White Elephant sale and got some lace bits and some junk jewelery for next to nothing. I've taken them apart already and the bead and baubles and bits will be very nice embellishments to go with the quilt I'm going to make from my birthday fat quarters, a rather distinctive colour theme (well, for me anyway).
 All in all, a pretty expensive day, although most of it was for a good cause.
Saturday, October 21, 2006
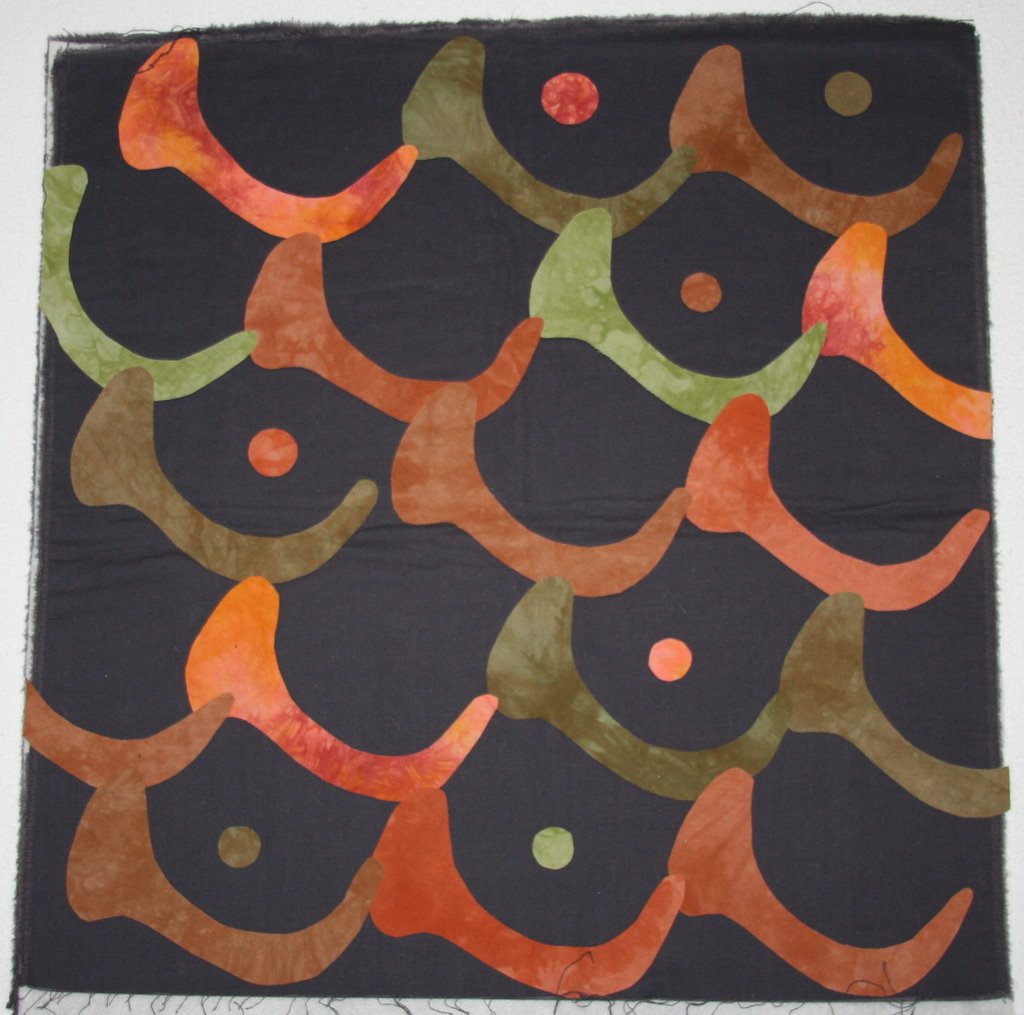
The Quilt I Can Never Exhibit
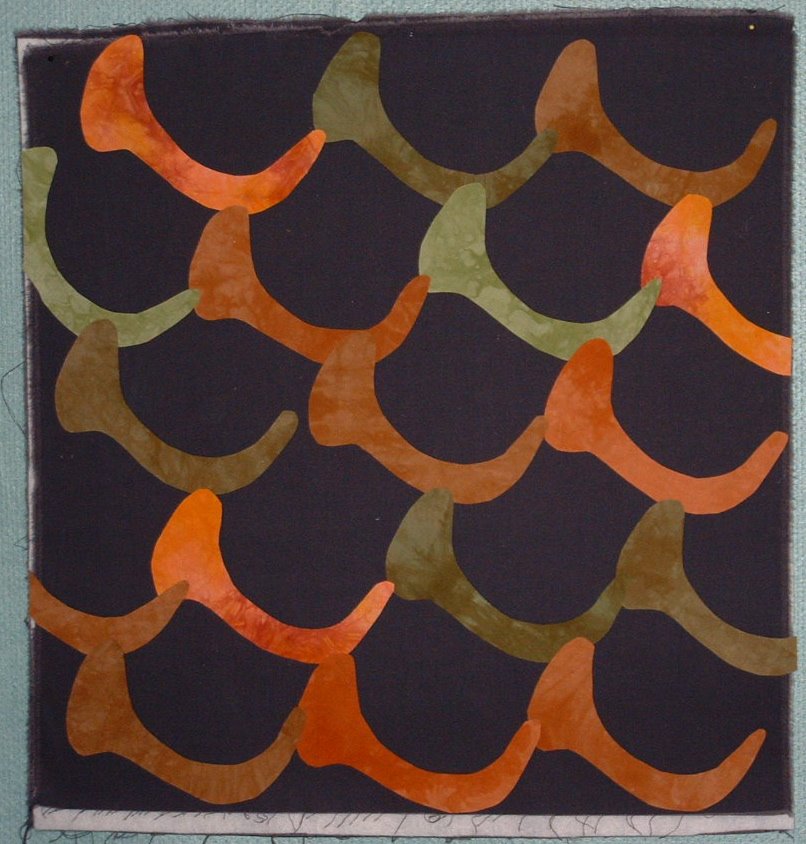 I was at a weekend workshop and Kate wore her name tag down on the hem of her shirt instead of higher up. She explained that it was to prevent men from saying "So, what do you call the other one?"
 The inspiration for this quilt hit during the hysterical laughter that ensued. For those who weren't there and don't know the story, this work-in-progress looks like fish scales.
I cut the shapes from a packet of hand dyed fabrics that went from green to orange to brown and the entire quilt, all three layers and the shapes are vlysofixed together as per one of the workshops that weekend.
Recently, I added the round shapes so that I could show this for one of the challenges, 'Of the Body'. Unfortunately, no one sees fish scales any more. And I'll never be able to exhibit this quilt unless I can find a way to quilt and embellish this quilt so that it doesn't look so much like breasts.
Friday, October 20, 2006
Birthday Fat Quarters
I got a nice bundle of fat quarters from a group of Netties for my birthday. I thought that they were very nice but two of them (the ones on the right) just were that little bit out there compared to the rest.
The last one on the right and the 8th one from the right were to two that got the dunk.
 When they were wet, they looked even more out of place.
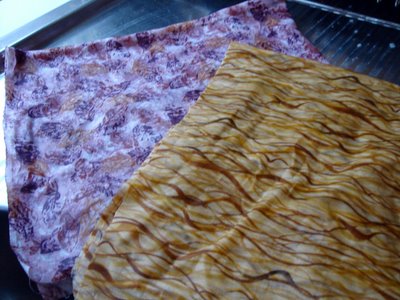 So I dumped them into a bowl with hot water and some Parisienne essence. The results were quite dramatic when they were wet. But was it too much?
 Was pretty sure that I'd gone too far. But once they were dry and folded, they joined the others quite nicely.

The last one on the right and the 8th one from the right were to two that got the dunk.
Thursday, October 19, 2006
Tuesday, October 17, 2006
Monday, October 16, 2006
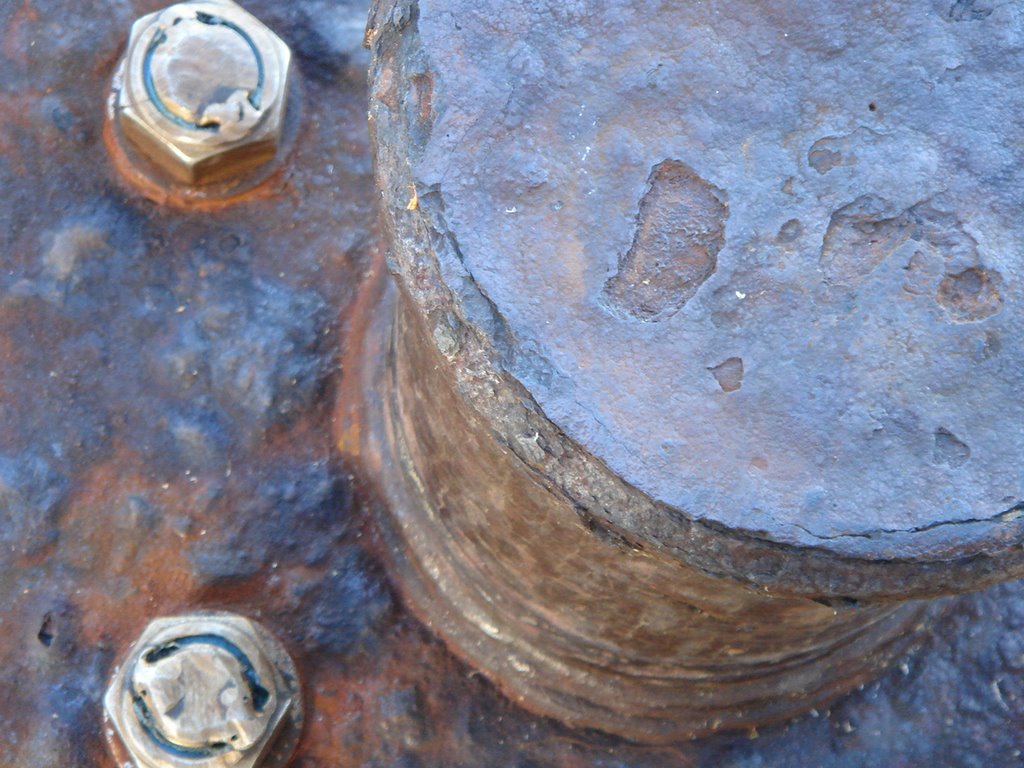
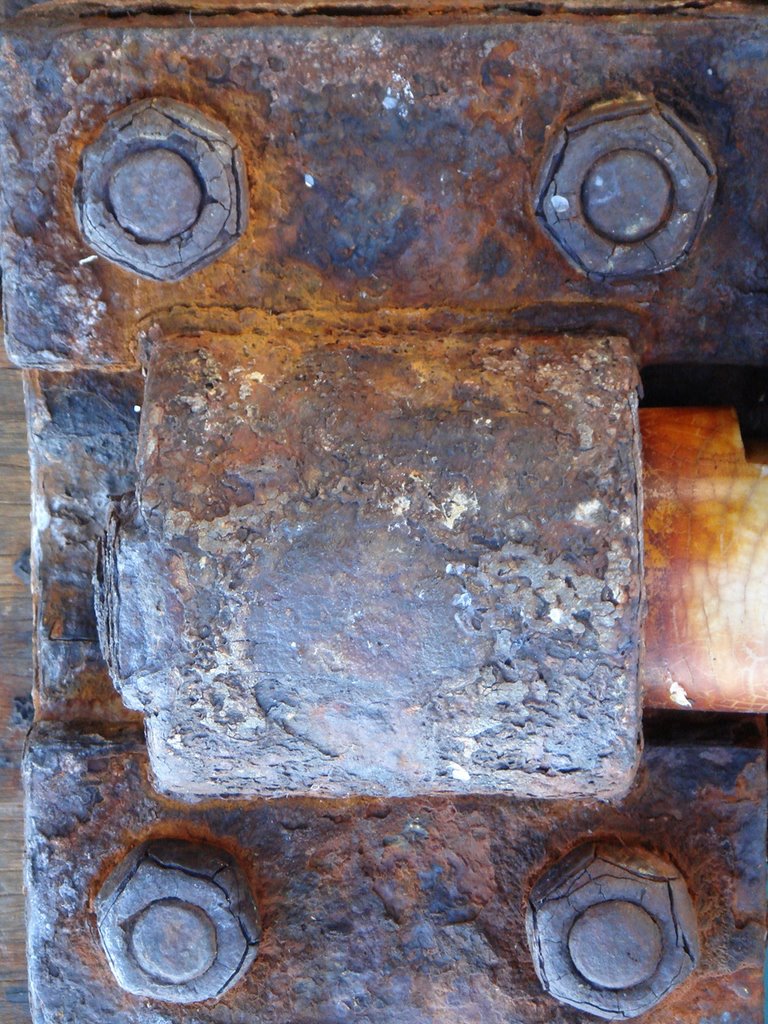
Wharf Rust #1
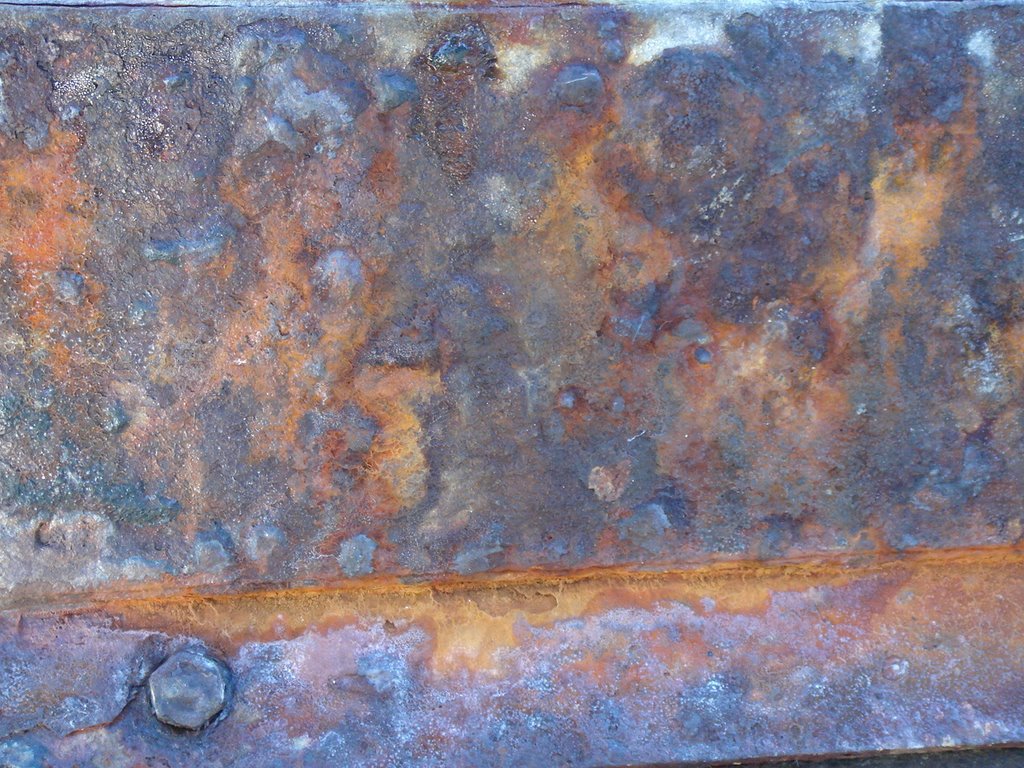 While waiting for the ferry one morning, I noticed how great the rusty metal on the wharf lookd ... almost like it had been painted. So, in front of all my fellow business commuters, I started taking photos.
 It wouldn't have been so bad but just minutes before I had been picking up some plastic beads from a kids bracelet off the ground. Two people thought I'd lost something and bent down to help me look for it. HRH wouldn't have been completely mortified, she just would have walked past like she didn't know who I was.
Sunday, October 15, 2006
Rain Update
Well, it looks as if the clouds came through with the rain for us. Not these clouds but ones later in the day and overnight. Sydney got a couple of millimetres of rain today. Not sure how much got into the cachements or what the dam levels are now but fingers crossed that some of the rain makes it there.
Looks Like Rain ... Or Not
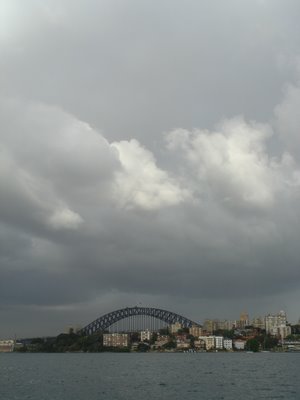
It's hard to tell during a drought if clouds like these mean it's going to rain or it is just a cruel trick to get you hopes up. This time, it was just a cruel trick. But there is always next time ...



Subscribe to:
Posts (Atom)