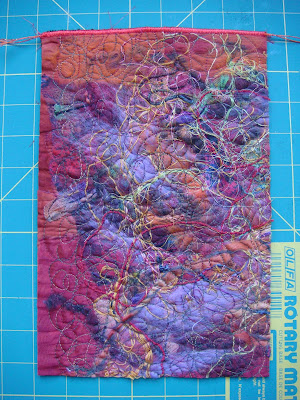
Repeat yesterday's process for finishing the edge, but this time starting with the inside edge of the envelope.

I used an expresso cup as a guide to rounding the corners of the top flap.


Here, the top corner is marked and the bottom corner is cut. I tried to cut around the expresso cup with a rotary cutter while holding the cup in place, but found that drawing first and cutting second was easier.
 Here is the rounded flap all cut and ready to be finished.
 I added the hook side of a piece of velcro for the closure to the inside edge that will be covered by the rounded flap.
 A close-up of the stitching on the hook piece of velcro. A couple of times around should make sure that it holds up to repeated opening and closing of the flap.
 Being an Engineer, I checked again for fit before sewing the sides together. Looking good.
To finish assembling the envelope, I sewed with zig zag stitch and my handy dandy walking foot around the sides and rounded flap back and forth 6 times so that the edge was well covered but not too bulky. Using rayon thread gives the finished edge a nice sheen.
I think that the loops part of the velcro closure to the rounded flap side should go ... about ... here.
 And it's done. Took longer to upload the photos and write about it than it took to make.
As for the finished visual diary envelope, here's the back ...
 ... and here's the front.
 I think that this one turned out pretty well too.


No comments:
Post a Comment